2. 디자인시스템 - Storybook chromatic 배포 및 git 연동

1. GitHub에 소스 배포 (참고)
1.1. 원격저장소 만들기

1.2. 로컬 저장소 -> 원격 저장소 푸시
# gitignore 파일 생성
$ npx add-gitignore storybookjs,react,yarn

# 저장소 초기화
$ git init

# git이 관리할 대상으로 파일 등록
$ git add .

# 파일상태 확인
$ git status

# 변경 내역에 대한 메모와 함께 커밋
$ git commit -m "init commit"

# 원격 저장소 추가
$ git remote add origin [원격저장소 주소]

# 연결된 저장소 확인
$ git remote -v

# 현재 브랜치 이름 확인
$ git branch

# 원격 저장소 origin에 master 브랜치를 푸시한다.
$ git push -u origin master
2. chromatic에 git action 설정 (참고1, 참고2)
2.1. chromatic.yml 파일 생성
.github/workflows/chromatic.yml
$ mkdir .github
$ cd .github

$ mkdir workflows
$ cd workflows

$ vi chromatic.yml
2.2. chromatic.yml 파일 내용
# .github/workflows/chromatic.yml

# Workflow name
name: "Chromatic"

# Event for the workflow
on: push

# List of jobs
jobs:
  chromatic-deployment:
    # Operating System
    runs-on: ubuntu-latest
    # Job steps
    steps:
      - uses: actions/checkout@v1
      - name: Install dependencies
        # 👇 Install dependencies with the same package manager used in the project (replace it as needed), e.g. yarn, npm, pnpm
        run: yarn
        # 👇 Adds Chromatic as a step in the workflow
      - name: Publish to Chromatic
        uses: chromaui/action@v1
        # Chromatic GitHub Action options
        with:
          # 👇 Chromatic projectToken, refer to the manage page to obtain it.
          projectToken: ${{ secrets.CHROMATIC_PROJECT_TOKEN }}
3. Github Secret 세팅
3.1. Chromatic 프로젝트 생성


3.2 Chromatic 관리 페이지에서 토큰 확인

3.3. Github Secrets에 토큰 설정


4. 푸시 및 확인하기
소스를 수정하고 commit & push를 하게되면 chromatic까지 배포는 되는것을 확인 할 수 있다.


5. Chromatic 확인
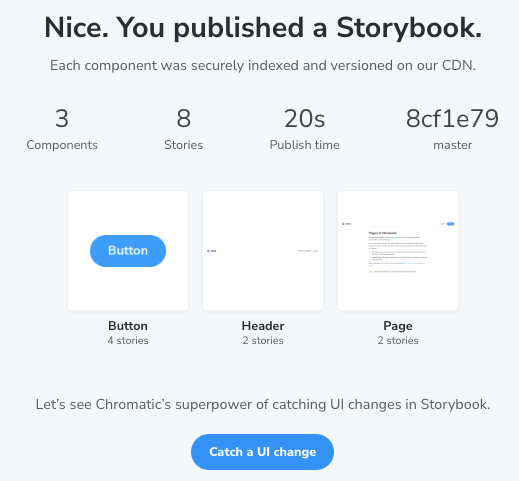
5.1. 배포 성공

5.2. 아래 명령어 실행해서 크로메틱스 설정 추가하란다.

6. 스토리북이 정상인지 확인

성공

성공했다. 짝짝짝!! 디자인 시스템에 뼈대는 세워진것 같다.!
좀더 다듬어서 실제로 서비스에 사용할 수 있도록 해보자!!
빌드중에 에러날때 아래 사이트 참고

https://dchkang83.tistory.com/217
yarn storybook error const stringWidth = require('string-width')
react에 rollup.js를 설정하고 storybook을 설치하고 $ yarn storybook 했더니 에러가 발생하였고, 해결방식을 정리해 본다. 이슈 URL https://github.com/storybookjs/storybook/issues/22431#issuecomment-1630086092 [Bug]: string-widt
dchkang83.tistory.com